Posted on Leave a comment

No-Gap Base Increase

How to increase the height of your Tunisian Crochet column, without leaving a hole in your fabric.

This is so quick to do. You’ll love it.

Start With Some Tunisian Crochet

In this case, I have a layer of crochet done, and have started into a second layer.
The layer I’m working on is three bars high.

If you want to do the same, go ahead, I can wait. It’s no bother. I can just go make a cup of tea.

A layer of linked stitches.

Work the Downward Pass

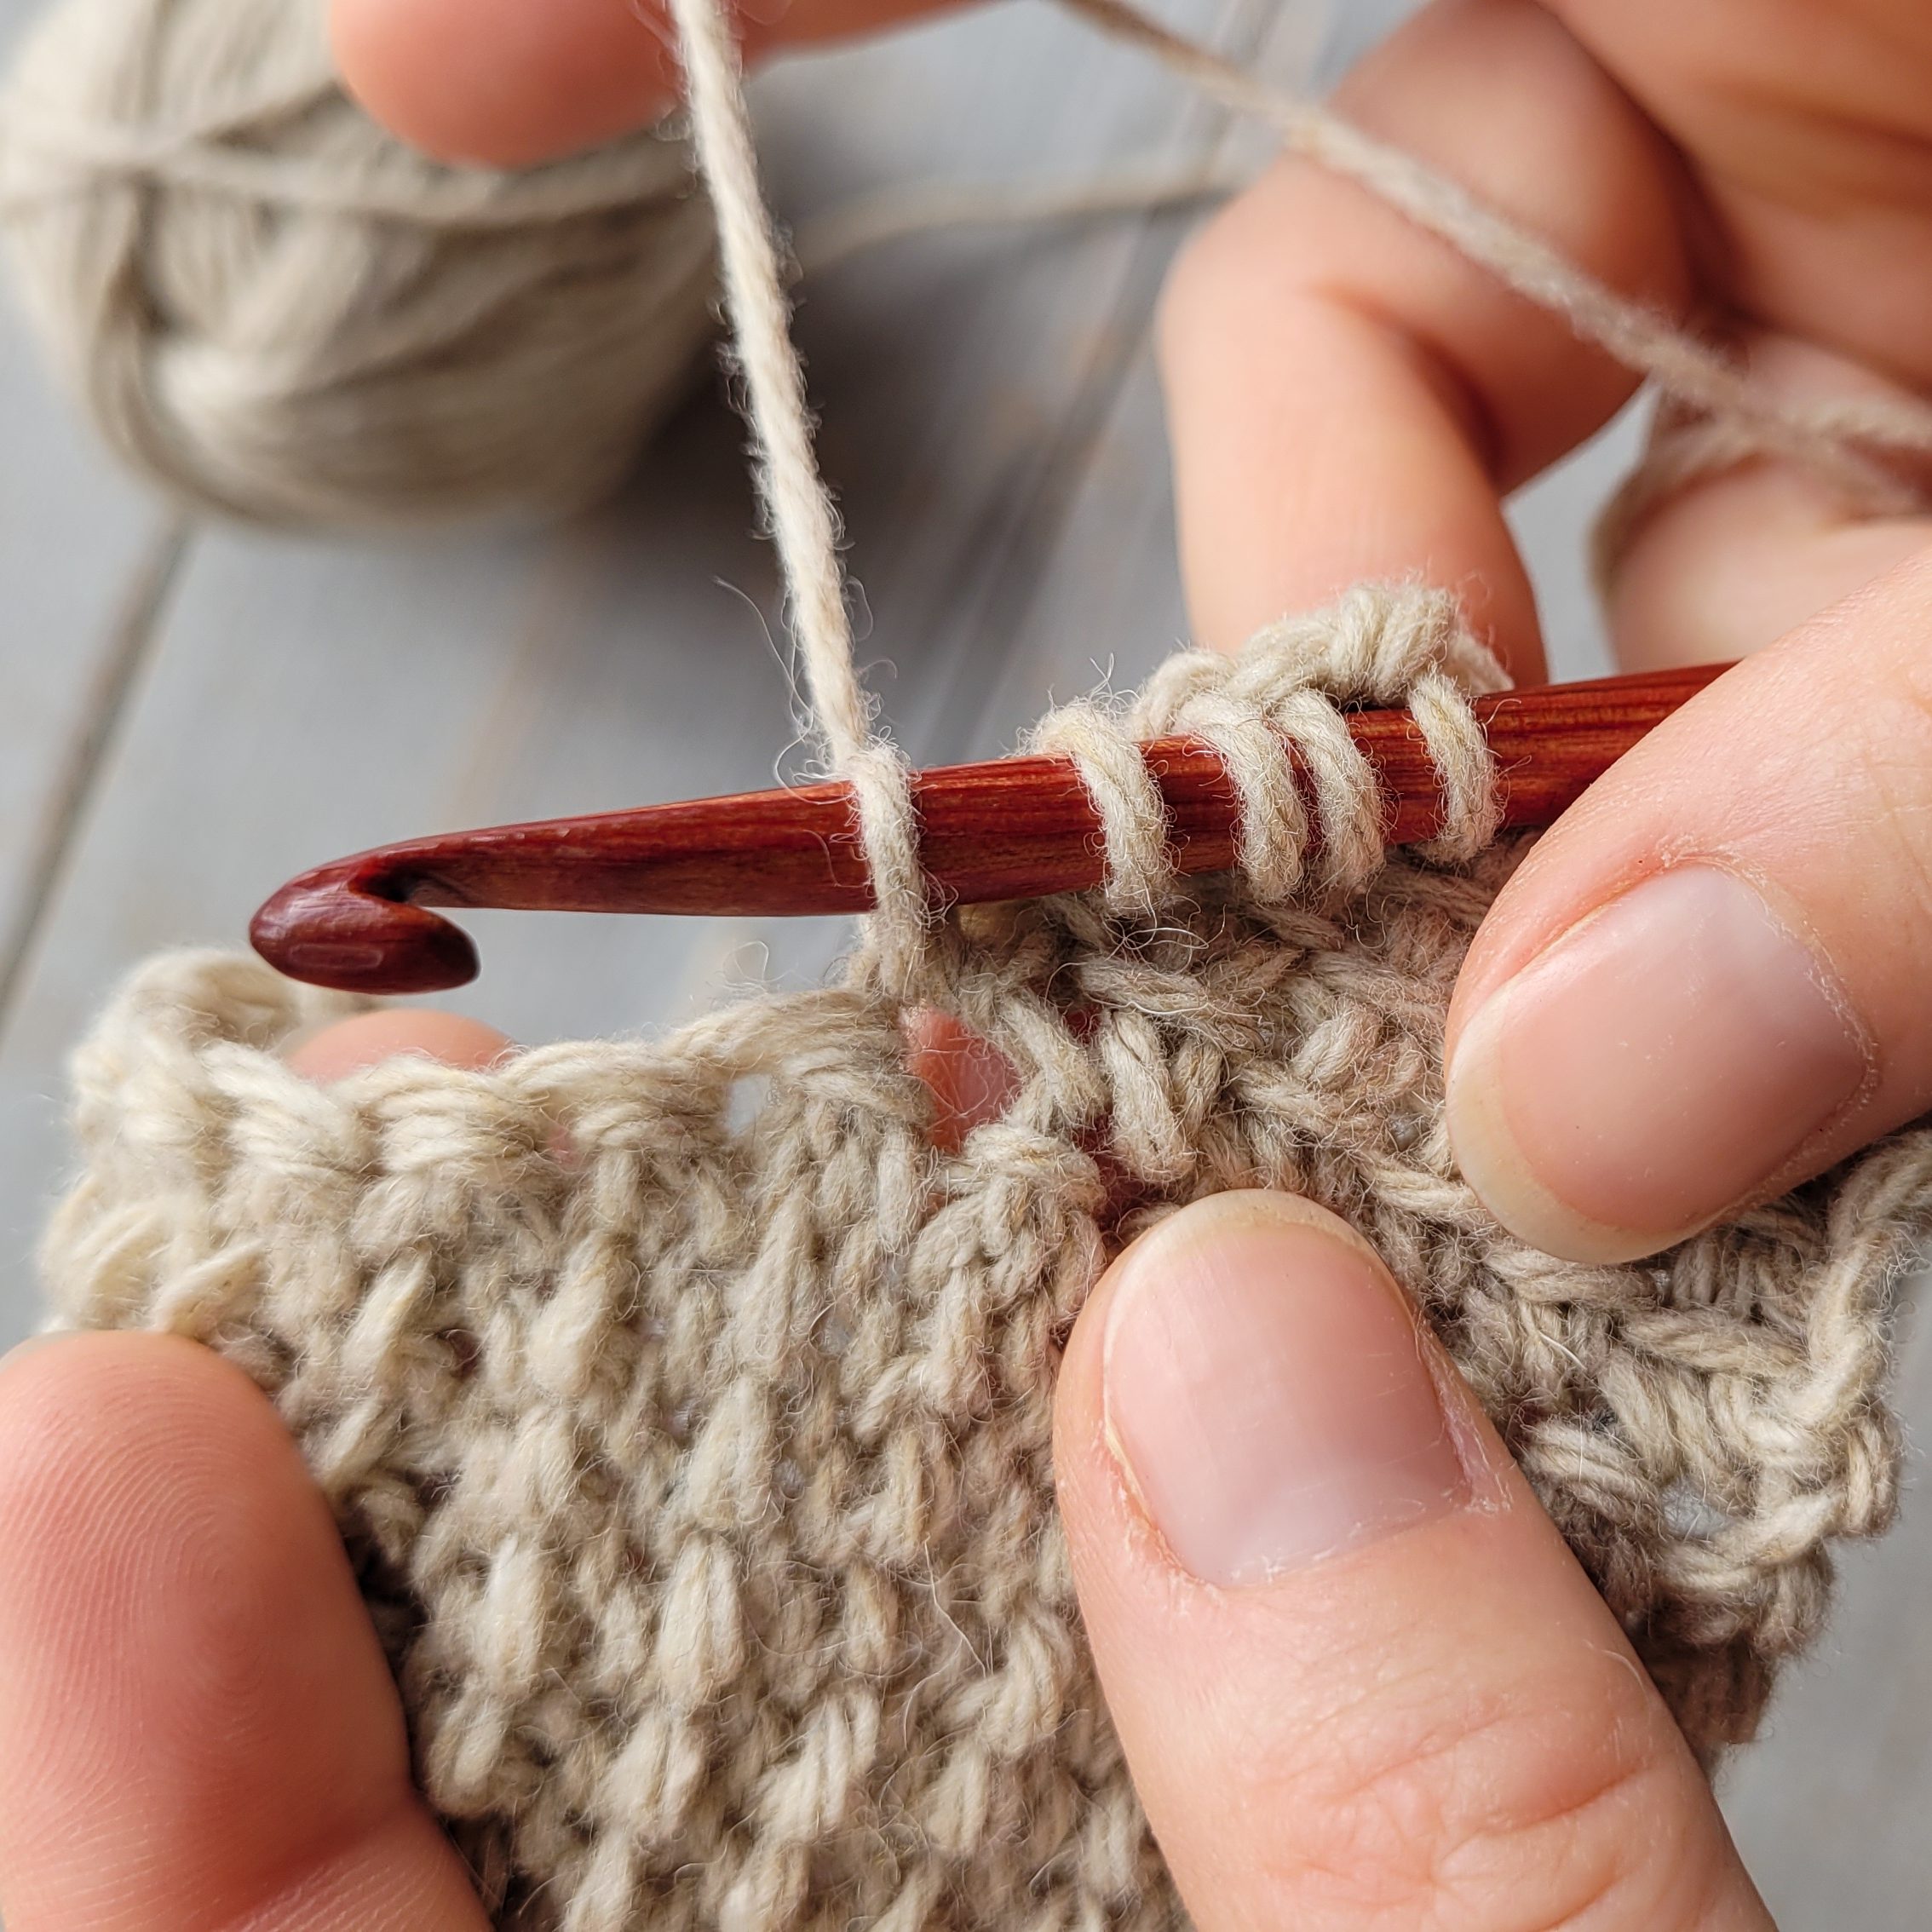
Pick up loops in all the bars, as you have done for every column of the row so far. Don’t work into the next base just yet. We’ll get to that in a second.

Do you see the hole at the base of your PREVIOUS column? Work your hook into it.

  1. Loops picked up. Hole at base of previous column visible to the left of thumb.

2. Hook into hole at base of previous column.

Yarn Over, and draw a loop through fabric.

This adds a loop to hook that wouldn’t have been there otherwise (an increase)

  1. Yarn Over

2. Extra Loop

Now, we continue the Downward Pass by working hook into NEXT base:

Hook worked into NEXT base along.

Yarn Over, and draw a loop through to front of fabric:

  1. Yarn Over

2. Pull through

Work Tunisian Crochet Upward Pass as usual

* Yarn Over, pull through two loops * repeatedly until one loop is left on hook.

The three bars are now accompanied by a fourth (at the bottom of the column).

You are now working with four bars where before, you only had three.

Here’s what a completed, taller layer will look like.

A three-bar layer has been transformed into a four-bar layer. Lovely job!

And here’s the whole thing in motion:

Back To Top


Like what you see? Check these out!

Posted on Leave a comment

Second Double Crochet Row

You have your first row of stitches complete, but now it’s time to start into the second row, and suddenly, everything looks different.

Here’s how you do it.

The Lay Of The Land.

Let’s look at what we’ve got.

In this instance, we have made 8 chains and skipped the one closest to the hook.
Then, we used the other seven chains to make double crochet stitches.
So far, so shiny.

a V-shape sits on top of every crochet stitch. Use them to count.

Make a turning chain

A ‘turning chain’ is just a regular chain stitch (Like the 8 chains we did at very the beginning). The only reason it has a different name is because it serves a different purpose.

In this case, it adds a little extra yarn to the edge of our fabric so that the edge won’t be tight and inelastic when we’re done.

Here’s how a chain is done:

  1. Yarn Over

2. Pull ‘Yarn Over’ through loop on hook to complete ‘Turning Chain’.

Now, turn your work.

Orientation is key here. When your turn is done properly, your tail should be at the bottom of your work, your hook should be at the top (On the right for right-handed people and on the left for left-handed people)

Hook at the top and tail (under right thumb) at the bottom.

Now it’s time to find your V’s

There is a V-shape on top of every stitch, but right now, they’re on the side of your fabric facing away from you. Turn your work so that you’re able to see the top. You’ll to find your V’s there.

The 7 V-shapes we had originally have been joined by an eighth. The V closest to your hook is the one belonging to the ‘turning chain’.

Skip over the ‘turning chain’, and find the next V along.

That’s where we’re going to put our first double crochet of this row.

It’s just a case of using the same dance steps we did on the first row to make a double crochet.

  1. Yarn Over

2. Pull ‘Yarn Over’ through to front of fabric.

3. Second Yarn Over

4. Pull ‘Yarn Over’ through BOTH of the loops on the hook. When you are back to one loop, the stitch is complete.

To begin our second stitch of this row, we need to look at the fabric we’ve made so far.

Under the double crochet we just completed, there is a hole. I have an arrow indicating its location in the next photo.

The hole tells you where you have already been.

This hole was made by your crochet hook when you created the last stitch. It tells you that you have already been in that section of fabric. So, when it’s time to insert your hook for double crochet number two, move to the left one space.

Hook inserted into SECOND stitch space, ready to make second double crochet

The second double crochet is created the same as the first. See photos below for a recap.

  1. Yarn Over

2. Pull ‘Yarn Over’ through to front of fabric.

3. Second Yarn Over

4. Pull the ‘Yarn Over’ through BOTH of the loops on the hook. When you are back to one loop, the stitch is complete.

Rather, Rinse, Repeat.

Every double crochet stitch you make on this and every other row will be created like the one above.

When the row is done, you should have something that looks a little like the image below.

Gorgeous!

Note: When you being a new row, don’t forget your ‘turning chain’!

Back To Top


Like what you see? Check these out!