Posted on Leave a comment

Free Tunisian Crochet and Traditional Crochet Shamrock Patterns

Happy St. Patrick’s Day, everyone!

Chances are, wherever you are in the world, this coming weekend, you’re likely to encounter at least a couple of Irish people.

And those Irish people (and their kids ((and their kids’ kids neighbour’s dogs)) ) will likely be wearing something green, and singing lilting ballads about a lost love (or a lost shoe) that leaves you yearning to visit the beautiful island of Ireland.

Chances are, there’s an Irish pub somewhere in your closest city, and chances are on Paddy’s Day – the 17th – they’ll happily serve you a pint of black stout that’ll curl your toes. There’s also an excellent chance that that stout will have a three-leafed design poured into its foamy top.

That shape – the three-leafed shamrock – is a national symbol, and unlike our other national symbol, the harp, is much easier for school children and publicans to draw.

The shamrock is also something we wear pinned to our chests on the feast day of one of our three patron saints – Patrick.

And before we get to the crocheting the lovely little thing, I thought ye might all like a few facts about Ireland, and the day we’re all here to celebrate.

  1. The Shamrock is associated with Saint Patrick because according to legend, he used the three leaves of the shamrock to explain to the pagan Irish how one god could be made up of three aspects ☘️ (the father, the son and the holy spirit). In reality, the Irish were very well aware of what a three-fold deity was. They had plenty of their own. But we love the story nonetheless.
  2. 4-leafed clovers are not our thing. According to my Nanny, the 4th leaf “let the devil in”, so be aware and count your leaves carefully!
  3. Arthur Guinness – he of the famed black stout – chose the harp (a deeply rooted symbol in our culture) as a logo for his brewery long before the formation of the Irish state. So, when the Republic of Ireland was founded, the decision-makers found they couldn’t use it without their official documents being mistaken for beer-related business. They decided not to overthink it, they turned the harp to face the opposite direction and carried on creating the modern Irish Republic.
  4. Ireland has three patron saints.
    Patrick is one of them. We all know him. He was a very serious man, and he’d have haaated the party in his honour.
    Brigid is another. Half pagan goddess, half christian saint. Something for everyone, really. We love her, and now she has a bank holiday of her very own, so we love her more.
    And Colmcille – who very few people know anything about, probably because he spent most of his adult life in Scotland.
  5. Patrick is also the patron saint of Nigeria, and Montserrat. Pretty cool.
  6. It’s “Paddy‘s Day”. Not “Patty’s Day”.
    Patty is the female form of the name Patricia (and also the slab of meat one might put in a burger).
    Paddy is the male form of the name Patrick (and also a waterlogged field in which one might grow rice).

    If you wanna make an Irish person’s day brighter, use the right word. We’ll be ever so grateful.

If you wanna make my day brighter, stay til the end and see some of my Ireland-inspired patterns!


Pattern Info:

The hook I used for my samples was a 3.75 mm hook.
The yarn I used is a cotton DK (Rico, Ricomuri DK in colours 44 and 49 to be exact)

These patterns are written using UK stitch terminology.
UK dc = US sc.
UK htr = US hdc
UK tr = US dc

Traditional Crochet:

Step One: Make 3 chain stitches.


Step Two: Work 3 tr into first ch made (this ch will be the very centre of our shamrock), 2 ch, 1 ss into first ch made.

Step One complete
Step Two, just missing the final slip stitch
slip stitch complete

Step Three: Make 2 chains

In order, work Step Two, Three, Two.

Step Three complete
Second Leaf Segment complete
Third Leaf Segment complete

Bind off. Weave in starting yarn strand. Trim end strand to desired length.
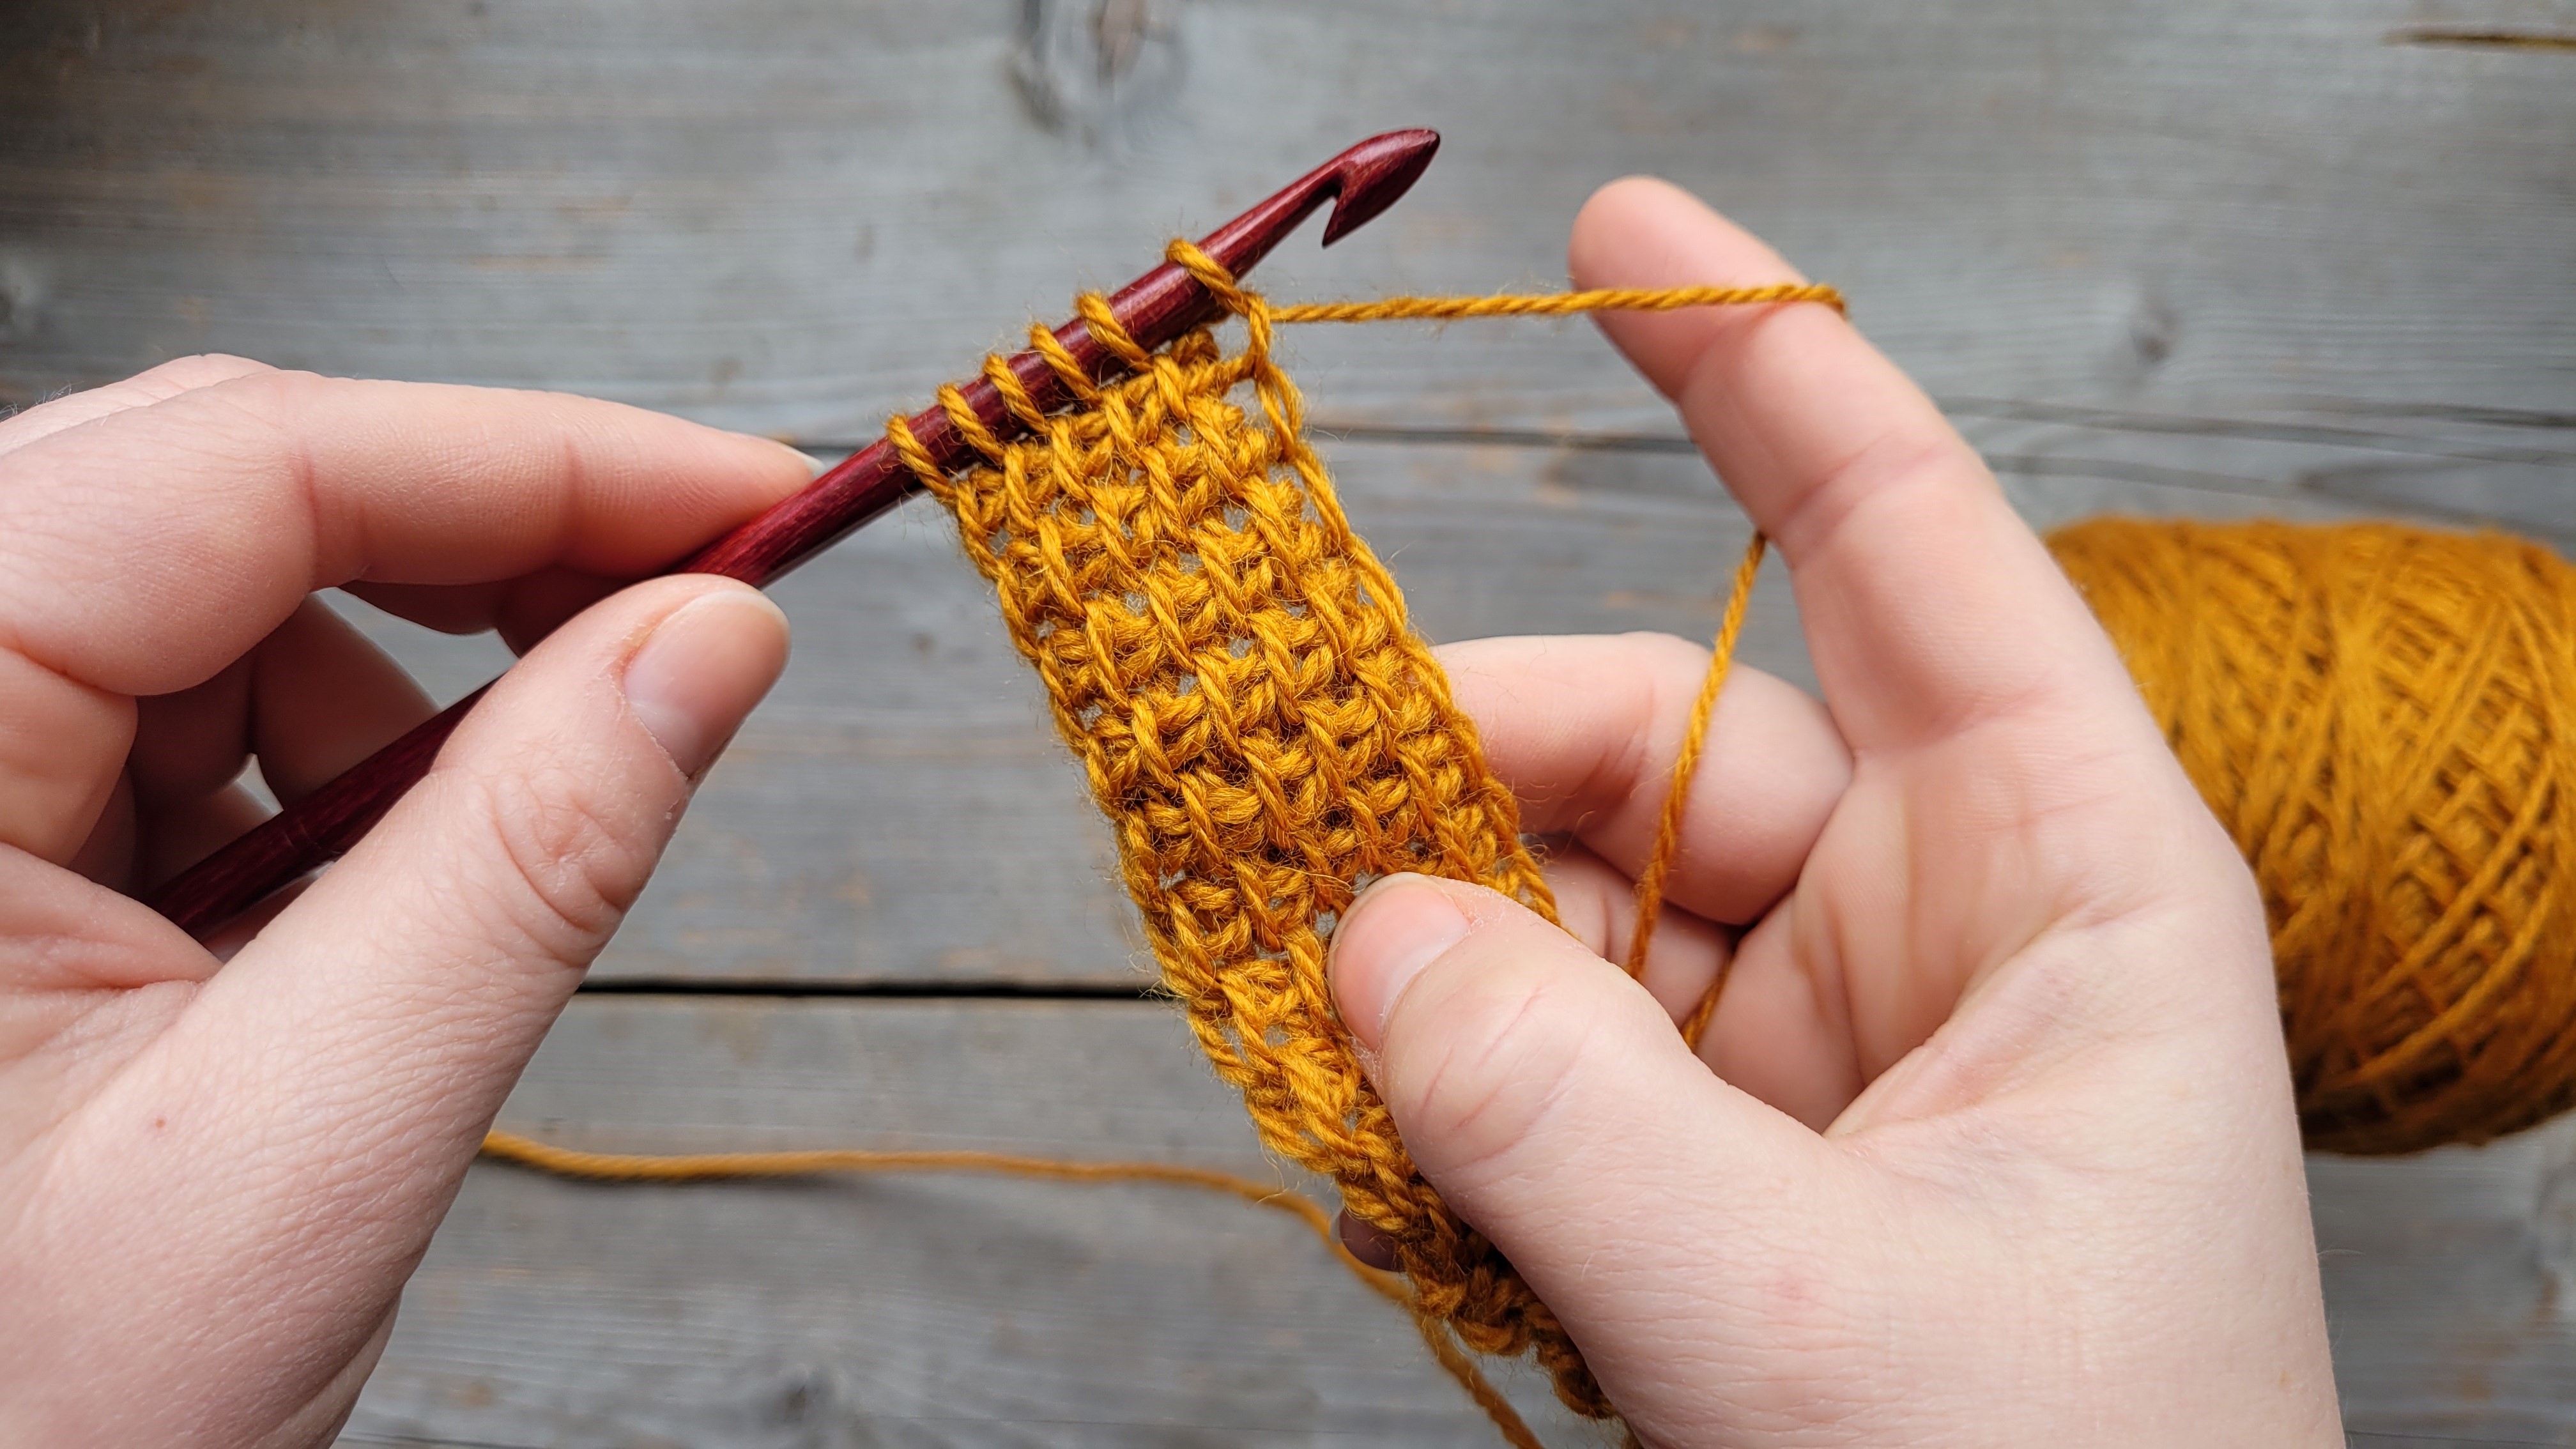


Tunisian Crochet:

Step One: Make 4 chains, make a circle with 1 slip stitch into the 1st chain.

**Step Two: Make 4 chains.

Step Two
Step Three, Forward Pass complete
Step Three, Return Pass complete

Step Three: Forward Pass: Skip 1st chain and insert hook into 2nd ch.
YO and draw yarn through ch.
– 2 loops on hook

Insert hook into 3rd ch, YO and draw yarn through ch.
– 3 loops on hook

Insert hook into 4th ch, YO and draw yarn through ch.
– 4 loops on hook

Insert hook into ch-4 circle, YO and draw yarn through ch.
– 5 loops on hook

Return Pass:
*YO, draw through 2 loops* repeat until 1 loop is left on hook

Step Four, Forward Pass complete
Step Four, Return Pass complete

Step Four: Forward Pass:
*Locate closest “bar” on surface of previous stitch. Slide hook through this bar.
Yarn Over (YO), and draw a loop back through the bar and onto the hook* repeat 2 more times
– 4 loops on hook.

Return Pass:
*YO, draw through 2 loops* repeat until 1 loop is left on hook

Step Five, Forward Pass complete
Step Five, Return Pass complete

Step Five: Forward Pass:
*Locate closest “bar” on surface of previous stitch. Slide hook through this bar.
Yarn Over (YO), and draw a loop back through the bar and onto the hook* repeat 2 more times
Insert hook into ch-4 circle, YO and draw yarn through ch.
– 5 loops on hook

Return Pass:
*YO, draw through 2 loops* repeat until 1 loop is left on hook

Repeat Steps 4 and 5 one more time.
Complete first leaf segment by crocheting dc sts into each bar on the edge of the last st made. 1 ss into ch-4 circle. **

Step Four repeated
Step Five repeated
dc sts down side of last stitch, 1 ss into ch-4 circle

Repeat from ** to ** for each additional leaf segment.

Second Leaf Segment added
Third Leaf Segment Added and 4-ch stem completed

Make 4 ch for stem.
Bind off and weave in ends.

Aoibhe’s Ireland-Inspired Crochet Patterns

More From Aoibhe’s Blog

My Own Personal Sunshine

My Own Personal Sunshine

It’s a strange time to be a designer. Very recently, I discovered that an annual job I had expected to be renewed wasn’t going ahead as usual.

Keep reading

Colours by County

There’s more to Irish colour than green.

We may all wear “the green” on Patrick’s Day, but did you know that each county in Ireland has its own, unrelated colour scheme?

Keep reading
Posted on Leave a comment

Colours by County

We may all wear “the green” on Patrick’s Day, but did you know that each county in Ireland has its own, unrelated colour scheme?

At local, regional, and national-level sporting events you’re as likely to see blue flags or maroon jerseys as you are to see any green at all.

That’s because every county in Ireland (32 in all) has their own flag and their own set of colours.

Most have two, some have three, one has… one.

Some share colours, some swap their order, and some (I’m looking at you, Dublin!), choose to be represented by the same colour twice.

Choosing county colours over the green white and orange of the national flag gives us all a wider patriotic colour palette.

So, this Patrick’s Day (17th of March), show your pride in Ireland by making and wearing something (ideally from an IRISH designer!) with your favourite county’s colours.

Do I have a favourite, you ask?

Of course not (cough-MEATH!-cough) I don’t play favourites.

By the way, if you’ve met me in person on one of www.knittingtours.com‘s wonderful Irish craft-centric events, then you’ve been to either Dublin, Kildare, Wicklow or Clare. And lucky you, too. They’re all gorgeous.

Posted on 2 Comments

Crocheting left-handed

My Mam is a leftie, a ciotóg, a southpaw.

I’m not.

But, still, she managed to shift her brain far enough to the right to teach me to crochet. She obviously did a pretty good job of it because now it’s my full time profession, my favourite past-time, and the thing that keeps me and my loved ones cozy in the colder months.

If she’d gotten frustrated with our duelling brains, or if she’d insisted I crochet left-handed, I doubt very much that my love for this artform would have grown much beyond an initial curiosity. It would instead have withered on the vine as it does for so many lefties in this right-centric world.

I have great sympathy for the frustration many of my left-handed students feel. Many share tales with me of their attempts to learn to crochet in school, or by the side of a well-meaning family member. Often, their efforts ended in failure because “I just can’t hold the hook correctly”, or “the yarn won’t stay where I need it to”, or worst of all “I’m just not good at it.”

That last one, I assure you, is a lesson many, many left-handed crafters learn as their teacher’s enthusiasm wanes.

And this is why I make darn sure to give lefties a welcome break in my classes. If someone is willing to learn, then I’m darn well not gonna be the one who puts them off, and if you feel the same – or if you have a young student you’re looking to teach – here are my top tips to helping you and them get past the left/right barrier.

A. Don’t speak in “right” and “left”.

Just immediately chuck that sort of language in the bin. It’s no use to you here.

Instead, sit side-by-side and say “inside hand” and “outside hand”. That will stop you from getting your rights and lefts mixed up, and your student will get smoother narration from you as a result. Both of your dominant hands can be on the inside, and your weaker hands can be on the outside. Or the other way around, depending on the order you sit in. Either way is fine.

Sitting side-by-side makes you natural mirror images of each other.

And you get to say things like “let’s hold our hooks in our outside hands”, “now we’re going to start our ‘yarn over’ on the inside, wrap it over the top of hook and travel to the outside…” etc etc etc. Try it, you’ll be surprised how much smoother it goes for you both.

B. Mirrors!

Lots and lots of videos are filmed by right-handed people. Lots of photo tutorials are too.

Some people take the time to offer left-handed versions, but it’s rare.

If you’re left-handed yourself – or are using diagrams and videos to teach someone who is – hold a small mirror at a right angle to the page or screen and look at the reflection. Instant left-handed content.

C. Learn to crochet left-handed yourself, you lazy baby!

Lefties have to navigate a world full of scissors that don’t cut, tin-openers that don’t open tins, and pens that smudge as they write. Sink taps and oven knobs and radio controls turn the wrong direction, dictionaries run through the alphabet from Z to A, and rulers count inches in reverse.

And don’t get me started on computer mouse buttons and corkscrews and knives and pencil sharpeners and golf clubs and even some crochet hooks!!!

The least you can do – you lucky right-handed weirdo – is to figure out how to meet them where they live in this one thing.

You don’t have to be good at it. You just have to be willing to try.

PS. This post was inspired by a future student of mine who emailed specifically to ask if my class is even worth attending because she is left-handed. My heart, oh fellow comrades in crafting, literally broke.

Posted on Leave a comment

Invisible Crochet Bind-Off

Setting up for our bind off.

Here’s where we’re starting: a nice piece of UK dc/US sc on the round.

This technique works best on the round, as all the V’s on your working edge are facing the same direction.

UK dc / US sc on the round

To being your bind off, cut yarn, then increase the size of the loop on your hook until the end pops through and the loop is gone.

pull
p-u-u-u-u-ll!
there we go!

Thread the end onto a bodkin or a blunt-ended needle.

Then, sew underneath the two “arms” of the V on top of the next stitch along. Be sure that only those two strands of yarn are isolated. The rest of the stitch is to be left untouched.

Bodkin threaded
Bodkin worked under both “arms” of the next V along

Pull bodkin through fabric, and then tighten strand of yarn so it matches the tension of the stitches around it.

Bodkin pulled through fabric
Strand tension achieved

Then, take tip of bodkin, and press it the centre of the last stitch you crocheted. It will be the same spot that the strand you’re working with is sprouting out of. Again, pull the strand tighter

Bodkin pressed into centre of last crochet stitch made
Strand being pulled tighter
A little tighter
Just right!

Weave your end into the fabric a little bit to secure your end, and there you have it!
Your completely invisible bind off!

FOR ALL MY CURLY GIRLS

& BIG-HAIRED BOYS:

THE BEE HIVE HAT

AVAILABLE NOW

Back To Top


Like what you see? Check these out!

Posted on Leave a comment

Crochet Cast Off for Knitting

Setting up for casting off

Here’s where we’re starting: a nice sheet of stocking stitch on 4.5 mm knitting needles.

We’re going to use a 4.5 mm crochet hook to cast these stitches off.

Ideally, your hook should be around the same size as your needles. A little smaller can also work, for a neater edge, but try to avoid going much bigger; the edge will tend to frill (unless that’s what you want, in which case, go for it!)

Knitted Stocking Stitch Fabric
4.5mm needle and 4.5 mm hook, ready to cast off

Insert hook, knitwise into first stitch.

Slip first stitch off needle and hold on hook.

hook into first stitch
first stitch slipped onto hook

Insert hook into next stitch on needle.

Draw yarn between hook and needle, travelling OVER the hook, between the needle and hook, then UNDER the hook.
(Knitters: This Yran Over is worked in the opposite direction to the way many of you usually work, so take note of that as you go).

hook inserted knitwise into next stitch along
Yarn Over passes between hook and needle

Using hook, draw Yarn Over through closest loop to hook head. Then push the stitch that’s still on the needle off it. You now have two loops on your hook.

Yarn Over hook (same direction as before)

two loops on hook
Yarn Over in place

Draw Yarn Over through both loops on hook.

You are left with one loop on your hook and your first knit stitch cast off.

Begin casting off next stitch on needle by inserting hook knitwise.

One loop on hook, first knit stitch cast off
hook inserted into next knitting stitch

From here, we’re repating the cast off process from the first Yarn Over.

Yarn Over BETWEEN hook and needle
Yarn Over drawn through knitting stitch. Stitch slipped off needle
second Yarn Over
Yarn Over drawn through both loops

That’s your second stitch cast off.

When you repeat this for a while, you’ll start to see your crochet stitches build up behind your hook like this:

half of the row cast off

Okay, now.

To cast off your cast off row, work until you only have one loop on your hook and your needle has no stitches left.

Then, Yarn Over…

final loop of cast off row
Yarn Over added to hook

Break yarn, and dra-a-a-a-aw end through loop…

end drawn through loop…
loop getting b igger and tail getting smaller

…until it pops through.

Then, pull end to tighten the little knot in the corner of your fabric.

end pulled through to secure last stitch
pulling the end will tighten that last stitch and turn it into a little knot

And that’s your fabric totally bound off!

Don’t forget to weave in your ends, though!

return pass complete.
close-up of site of INC1 increase

PICK A LANE SWEATER

COMING SOON

Back To Top


Like what you see? Check these out!

Posted on Leave a comment

INC1 – a Tunisian Crochet increase

Setting up for a Tunisian INC1 increase

Here’s where we’re starting: a nice sheet of TSS stitches.

We’re going to put a INC 1 increase in the middle of the next row which will increase our stitch number by one stitch.

Tunisian Simple Stitch fabric
work TSS sts up to the spot you intend to increase

To increase, wrap yarn over hook.

Then, with Yarn Over still in place, work hook into next line/stitch along, yarn over and draw one loop through line/stitch.

The INC1 Yarn Over is still on the hook and locked between two regular, TSS stitches.

yarn over
next TSS complete

Finish the rest of the forward pass as usual.

Once forward pass is complete, work return pass as usual, i.e. YO, draw through 1 loop, then *YO, draw through two loops* repeatedly until only one loop remains on hook.

For next row, work up to INC1 yarn over as usual…

Return pass complete. INC1 Yarn over visible in centre of fabric.
Next Forward Pass started.
Hook worked up to INC1 Yarn Over of previous row.

… then you have a choice.

Either

A) Work hook into INC1 yarn over itself, or…

B) Work hook into eyelet made underneath INC1 yarn over.

A) Hook worked into INC1 Yarn Over
Yarn Over added to hook
Yarn Over drawn though INC1 Yarn Over
B) Eyelet identified
Hook into eyelet
Yarn Over added, and drawn back to front of work

Either choice is valid.

Then, complete Forward and Return Passes as usual.

After a few rows back and forth, this is the type of texture you’ll get in your fabric:

Increase achieved!

PICK A LANE SWEATER

AVAILABLE NOW

Back To Top


Like what you see? Check these out!

Posted on Leave a comment

TSS2tog – a Tunisian Crochet decrease

Setting up for a Tunisian TSS2tog decrease

Here’s where we’re starting: a nice sheet of TSS stitches.

We’re going to put a TSS2tog decrease in the middle of the next round which will reduce our stitch number by one stitch.

Tunisian Simple Stitch fabric
work TSS sts up to the spot you intend to decrease

To decrease, slip hook through the next two lines/stitches on your fabric. Then, yarn over.

hook in next to lines
yarn over

Complete TSS2tog decrease by drawing loop through both of the lines you inserted your hook into.

Finish the rest of the forward pass as usual.

Work return pass as usual, i.e. YO, draw through 1 loop, then *YO, draw through two loops* repeatedly until only one loop remains on hook.

Yarn over drawn through and rest of Forward Pass complete
Return Pass complete

When your row is finished, you’ll notice you now have one line fewer than you had when you began.

Decrease achieved!

PICK A LANE SWEATER

AVAILABLE NOW

Back To Top


Like what you see? Check these out!

Posted on Leave a comment

One Square Granny

When my Mam taught me to crochet, she did so by handing me a Granny Square blanket she was working on, and teaching me to treble crochet clusters into her already beautifully crocheted fabric.

I focussed on the stitches, on how they danced around my hook, and how the fabric grew under my fingers as I crocheted towards the corner. Then she showed me how to add enough stitches to veer around it and start on the next straight side.

Because I didn’t have to struggle with magic loops or counting or seams, I was able to learn to love the craft from the moment I began, and it’s that reason I think this modified “one block” granny square pattern makes for the perfect pattern to introduce a new-comer to the craft.

Now, bare in mind crocheters, YOU will have to make the first 4 rows for your prospective crochet genius before you hand it over, but once you do, the rules simplify to a point where a beginner, even with very little crafting experience, can pick up the rhythm and crochet confidently.

Starting your gorgeous Granny Square

Note: This pattern is written using UK stitch terminology.

Make 6 chain stitches, 1 slip stitch into chain furthest from hook to make a loop.

6 chain stitches
make into a loop with one slip stitch

Round 1.
Into the loop, make 1 dc, 1 htr, 14 tr.

double crochet and half treble on 6-chain loop
14 treble crochet stitches added to loop

Note: This Granny Square has NO seams at the start or end of a round. In fact, because it’s worked in an ever-increasing spiral, there technically is no start or end of a round. As my Mam says, you simply crochet this square until you either run out of yarn or run out of patience – whichever comes first.


Round 2.

Into the gap between htr and 1st tr, make [3 tr].

the gap between the half treble and the first treble crochet stitch
3 treble crochet stitches in the gap

*sk 2 sts, work [3 tr] into next gap*, 6 times.
(This gives you 8 clusters, each with 3 trebles in them and 8 “gaps” between them.)

3-treble clusters all around the edge, separated by 2 trebles each on previous round

Round 3.

*Into next gap, make [6 tr], into next gap make [3 tr]

the next gap is the big one to the left of your hook
6 trebles crochet stitches in the gap outlined in previous image, and 3 treble crochet stitches int he next gap along

Repeat the above, 3 times.

Note: The 6-tr clusters are your corners, the 3-tr clusters make up the sides of your square.

4 corner clusters (6 trebles each) and 4 sides (made of a 3-treble cluster each) completed

Does it look a little wonky and warped? Sure!
It’s a spiral with corners after all, so it’s always going to be a little off-kilter. (Who among us isn’t a little wonky, though, right?)

But as I said in the intro, this is a great pattern to teach someone to make Granny Squares. It’s not an award winning masterpiece; it’s a starter kit.

Round 4.

Into middle of next 6-tr cluster make [6 tr], *into next gap make [3 tr]* twice.

One corner (6 trebles) and one side (2 sets of 3 trebles) complete.

Repeat for other the corners and three sides.

Your square is ready to hand over to your crochet student.
(Or maybe use it to start a One-Square Granny blanket of your own. They can have the next square you start! 😉

At this point, your Granny Square should have four identifiable corners, and enough gaps between clusters that your beginner has space to learn and practice.

After this, it’s simply a matter of remembering the two basic rules of Granny Square manufacture:

  1. When you encounter a gap, put three trebles in it.
  2. When you see a corner, split it in two and add 6 trebles in the middle.

Granny Squares are just pure, logical genius. So, if you follow those rules, your One Square Granny will be a success.

Once your beginner has a little practice, and muscle memory has started to develop, you can add chains between the clusters, or teach them a more complex square pattern with seamed rows, or multiple colours. But I guarantee you, this will remain a favourite thanks to its simplicity, its gorgeous texture and the fact that, with a little experience, you can carry on crocheting while watching TV and not miss a stitch!

Folks, I’m happy for you to use this pattern to teach classes and individuals.
All I ask is that if you get paid for teaching this using pattern, that you refer back to this page and link your students to it and my work.

Back To Top


Like what you see? Check these out!

Posted on Leave a comment

Aoibhe’s (Almost) Invisible Tunisian Crochet Seam – for the Wrong Side

Tunisian Crochet seams can often look botched and ugly.

Here’s how to make your Tunisian Crochet garments and accessories look seamless!

Start With Some Tunisian Crochet

In this case, I have made a lovely piece of Tunisian Simple Stitch which I’m going to seam along the first and last rows.

Keep the last row you made closest to you, with the Right Side facing outwards.

Setting Up the Seam

The first thing we’re going to do, is add a little slip stitch to the two corners of our seam. This will ensure the edge of our work is smooth.

  1. Find the V on the edge of your FIRST row and add a slip stitch to it.

2. Insert finger between sides to help control your work.

Now, we can get to the real seaming business:


This seam is made by “zipping” one side of your fabric to the other.
We will be pulling each bar/line on the LAST row through each bar/line on the First row, and securing it there with a UK dc / US sc.

Here’s how:

  1. Locate the nearest line/bar on the FIRST row

2. Insert hook into it

3. Locate the nearest line/bar on the LAST row

4. Insert hook into it

5. Secure LAST row loop with hook and…

6. Draw LAST row loop through FIRST row loop

First ‘zip’ complete

Time for a little traditional crochet!

* This seam won’t hold without a little help, so we’re going to add a UK dc / US sc st onto the loop left on the hook.
Let’s do it!

1. Yarn Over.

2. Draw Yarn Over through one loop

3. Yarn Over again.

4. Draw Yarn Over through both loops

Repeat the “zip and secure” sequence for each pair of bars/lines on your seam until you get to the end.

It will look like this at this stage.

The inside of a completed (Almost) Invisible Seam.

There’s just one final thing to do; slip stitch into the two corners to smooth out the edge.

Here’s how:

1. Insert hook into both corners.

2. Yarn Over.

3. Draw Yarn Over through everything else on hook.

Bind off. Weave in ends. You know the drill.

Then, when you flip your fabric the right way out, you notice your seam is (almost) invisible, nice and strong and flexible!

A completed (Almost) Invisible Seam

SIDE NOTE: You may ask, “Hey, Aoibhe, why not use a slip stitch throughout the seam? Surely that’d take less time, use less yarn and sit flush with the fabric, right?”

And I’d say, yes, it would. Technically.

But also, slip stitches have zero stretch and zero chill.

Tunisian fabric has a lovely level of 4-way stretch, and if you add a non-stretchy seam to one part, it’s bound to cause shaping, comfort and blocking issues.

So, while a double crochet is, indeed, a little bigger, uses a little more yarn and takes more time to do, it’s still a better choice over all.

Back To Top


Like what you see? Check these out!

Posted on Leave a comment

Aoibhe’s (Almost) Invisible Tunisian Crochet Seam – for the Right Side

Tunisian Crochet seams can often look botched and ugly.

Here’s how to make your Tunisian Crochet garments and accessories look seamless!

Start With Some Tunisian Crochet

In this case, I have made a lovely piece of Tunisian Simple Stitch which I’m going to seam along the first and last rows.

Right Side in, Wrong Side out. Last Row furthest away from you.

Setting Up the Seam

The first thing we’re going to do, is add a little slip stitch to the two corners of our seam. This will ensure the edge of our work is smooth.

  1. Find the V on the edge of your FIRST row.

2. Insert hook, from front to back, into it.

3. Yarn Over

4. Draw the Yarn Over through work and through loop on hook.

Now, we can get to the real seaming business:

This seam is made by “zipping” one side of your fabric to the other.
We will be pulling each bar/line on the LAST row through each bar/line on the First row, and securing it there with a UK dc / US sc.

Here’s how:

  1. Locate the nearest line/bar on the FIRST row

2. Insert hook into it

3. Locate the nearest line/bar on the LAST row

4. Insert hook into it

5. In order, from left to right:
LAST row loop, FIRST row loop, loop that was already on the hook.

6. Draw LAST row loop through FIRST row loop

First ‘zip’ complete

Time for a little traditional crochet!

* This seam won’t hold without a little help, so we’re going to add a UK dc / US sc st onto the loop left on the hook.
Let’s do it!

1. Yarn Over.

2. Draw Yarn Over through one loop

3. Yarn Over again.

4. Draw Yarn Over through both loops

Repeat the “zip and secure” sequence for each pair of bars/lines on your seam until you get to the end.

It will look like this at this stage.

A completed (Almost) Invisible Seam

There’s just one final thing to do; slip stitch into the two corners to smooth out the edge.

Here’s how:

1. Insert hook into both corners.

2. Yarn Over.

3. Draw Yarn Over through everything else on hook.

Bind off. Weave in ends. You know the drill.

Then, when you flip your fabric the right way out, you notice your seam is (almost) invisible, nice and strong and flexible!

A completed (Almost) Invisible Seam

SIDE NOTE: You may ask, “Hey, Aoibhe, why not use a slip stitch throughout the seam? Surely that’d take less time, use less yarn and sit flush with the fabric, right?”

And I’d say, yes, it would. But also, slip stitches have zero stretch and zero chill.

Tunisian fabric has a lovely level of 4-way stretch, and if you add a non-stretchy seam to one part, it’s bound to cause shaping, comfort and blocking issues.

So, while a double crochet is, indeed, a little bigger, uses a little more yarn and takes more time to do, it’s still a better choice over all.

Back To Top


Like what you see? Check these out!