Posted on Leave a comment

Butterflies

If you’re anything like me, you haven’t touched your winter sweater pile since the end of moth season.

The sweater pile, full of (yup) patterns I haven’t released, then wore too often to take photos, and now they’re just clothes.
And yes, I did make those shelves. That’s why they’re wonky, but I still love them.

And so now, at the dawn of autumn, and the promise of a good, honest, cold breeze, you might be thinking about taking that entire pile and dumping it in cold water with a little hand-washing soap to freshen them all up.

I’m here to tell you to stay that hand, folks.

Today, I have been given a well-learnt lesson in taking my time with my hand knits.

Butterflies.

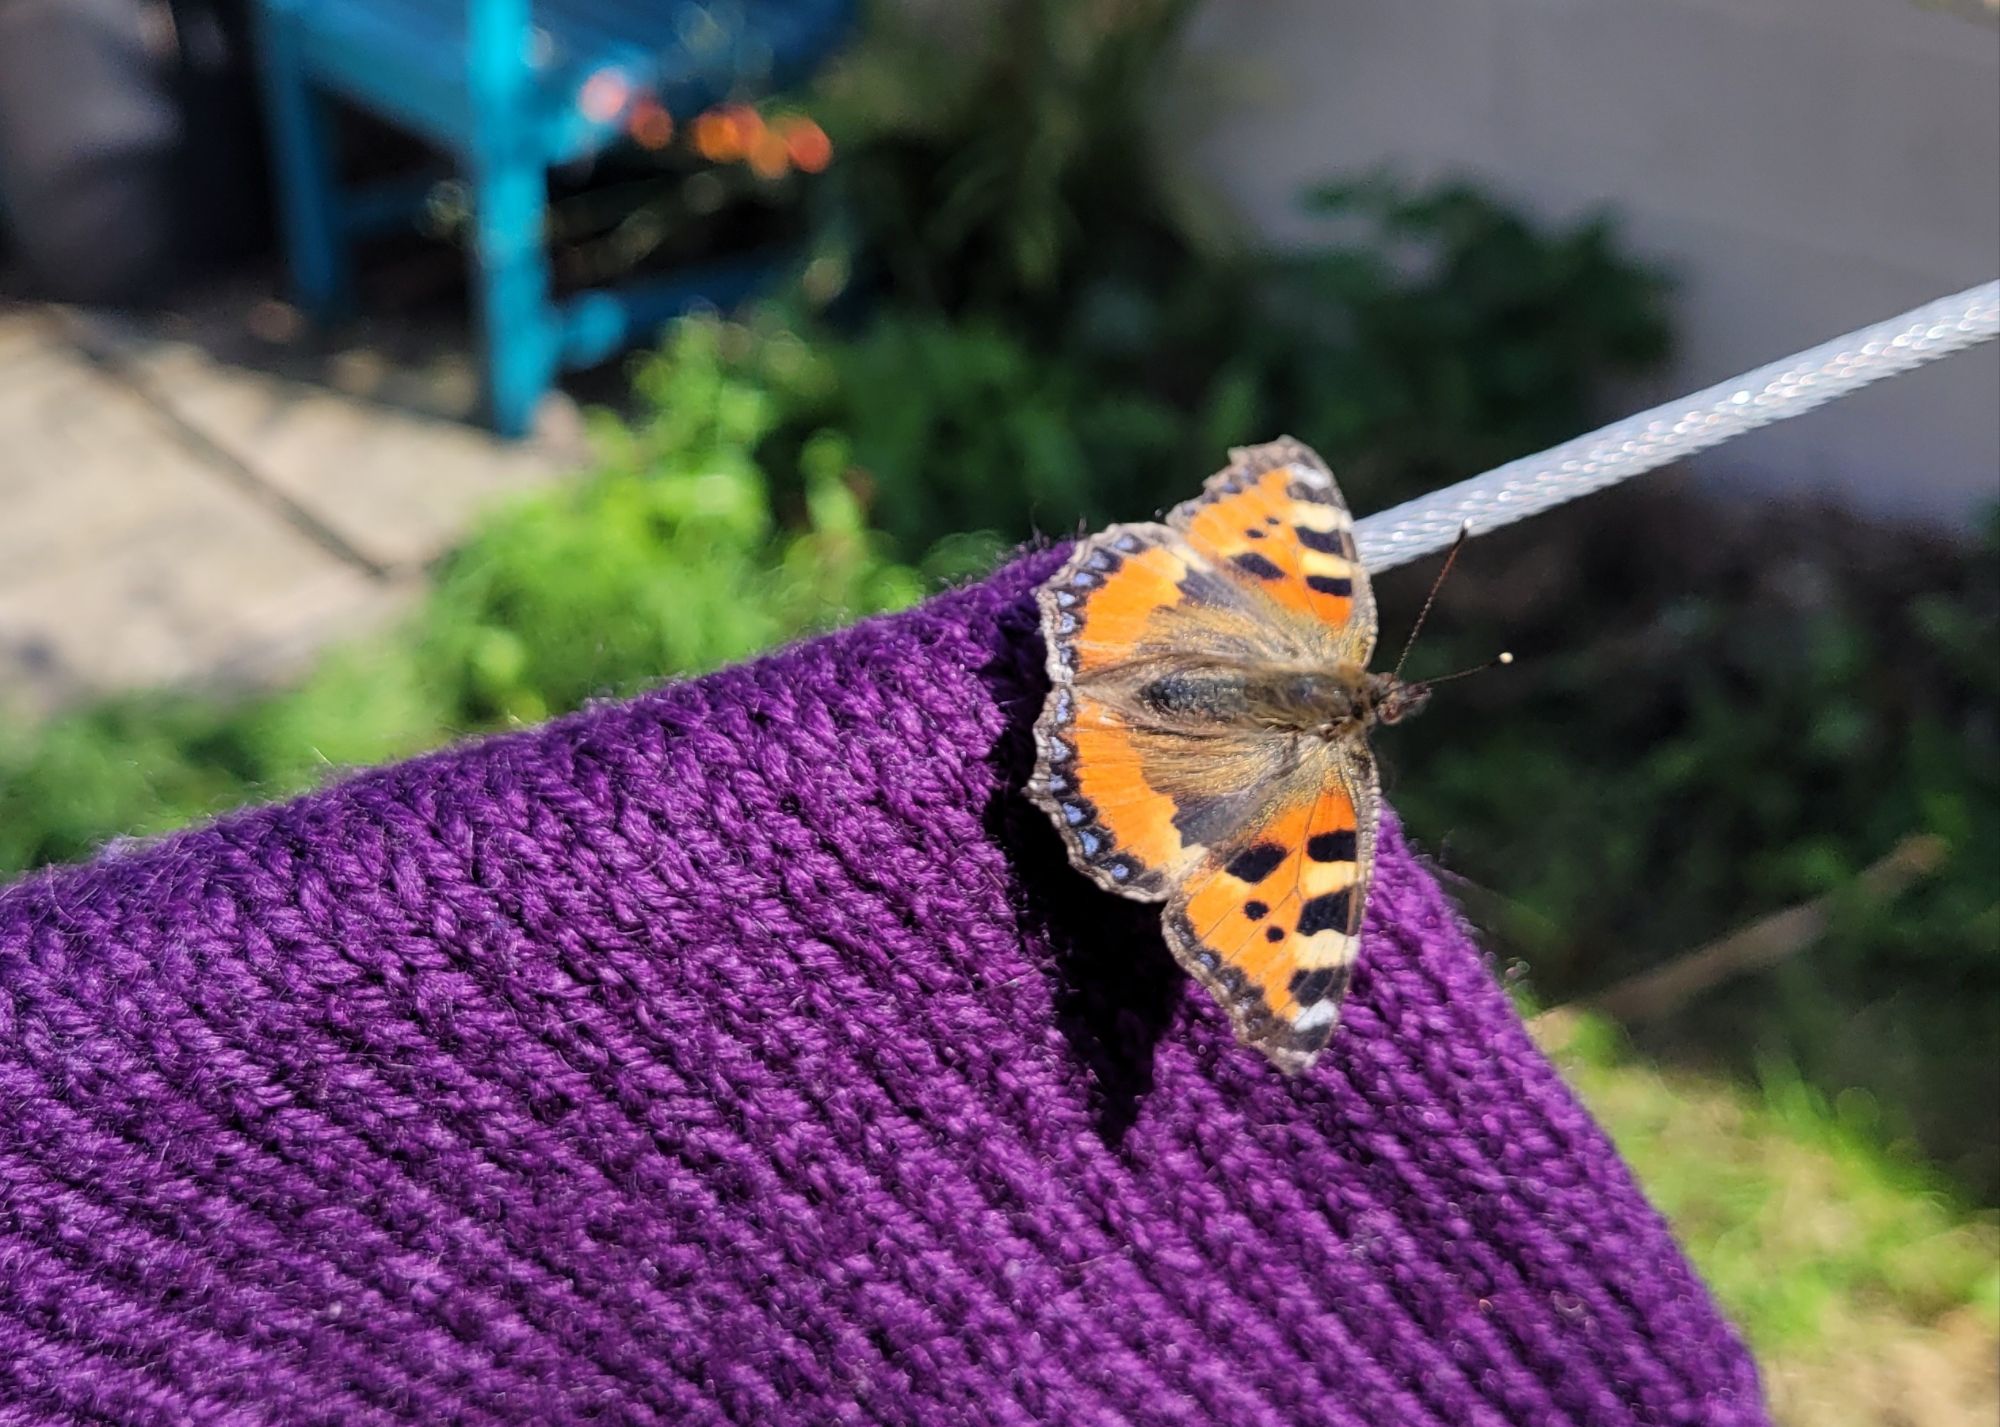
In my case, small tortoiseshells. These beautiful ladies like to flutter into our houses this time of year, you see, looking for a nice undisturbed spot to settle down and hibernate for the winter. And wouldn’t you know it, it appears my sweaters have become the local hot spot for sleepy tortoiseshells this season.

Five, in fact. All found snuggled into creases and folds of the first few jumpers of the top pile.

I didn’t take a photo of them in situ, I decided instead to get them outside on this nice warm, dry day so they can find somewhere better to bed down.

Ideally, I wouldn’t disturb them. I love knowing my home is filled with these little ladies, and the excitement that their reappearance causes in early winter when we turn the heating on and they all wake up thinking it’s spring is pretty life-affirming.

(Don’t worry. I catch them gently in my hands and pop them into a container where they can sleep the rest of the winter away in our very cold bathroom.)

It took this lot all of a minute to wake up in the sun’s rays and flutter off.

I hope they find a better spot to hibernate, and sure, if they end up fluttering back into my bedroom, at least now that my jumpers are all washed and drying on the line, they’ll have somewhere clean and fresh to slumber.

Products by Category

Posted on 1 Comment

“Be Kind. Rewind” – What you can do to improve the tension and elasticity in your yarn

Have you ever considered the tension your yarn is under once it’s been wound into a cake or ball?
One of the main reasons yarn is sold in a skein is to preserve its elasticity. So, from the second you wind it, it’s being held at a stretch.

Animal fibres in particular have a gorgeous spring to them. If you stretch them, they snap back on release. This elasticity gives a finished garment a bounce and a wearability that is a pleasure to behold.

But if these fibres are held at their limit for too long, they can lose that elasticity entirely. That’s why you should only wind your skeins when you intend to knit or crochet with them soon after. It’s also why those old balls of donated yarn tend to seem so lifeless – they’ve been held at a stretch for decades. Yikes.

Ball winders and swifts are an amazing piece of kit I believe every crafter should invest in, but there’s a pull between swift and winder, so even they can add tension to a newly-wound skein.

Image (c) Ballyhoura Fibres http://www.ballyhourafibres.com

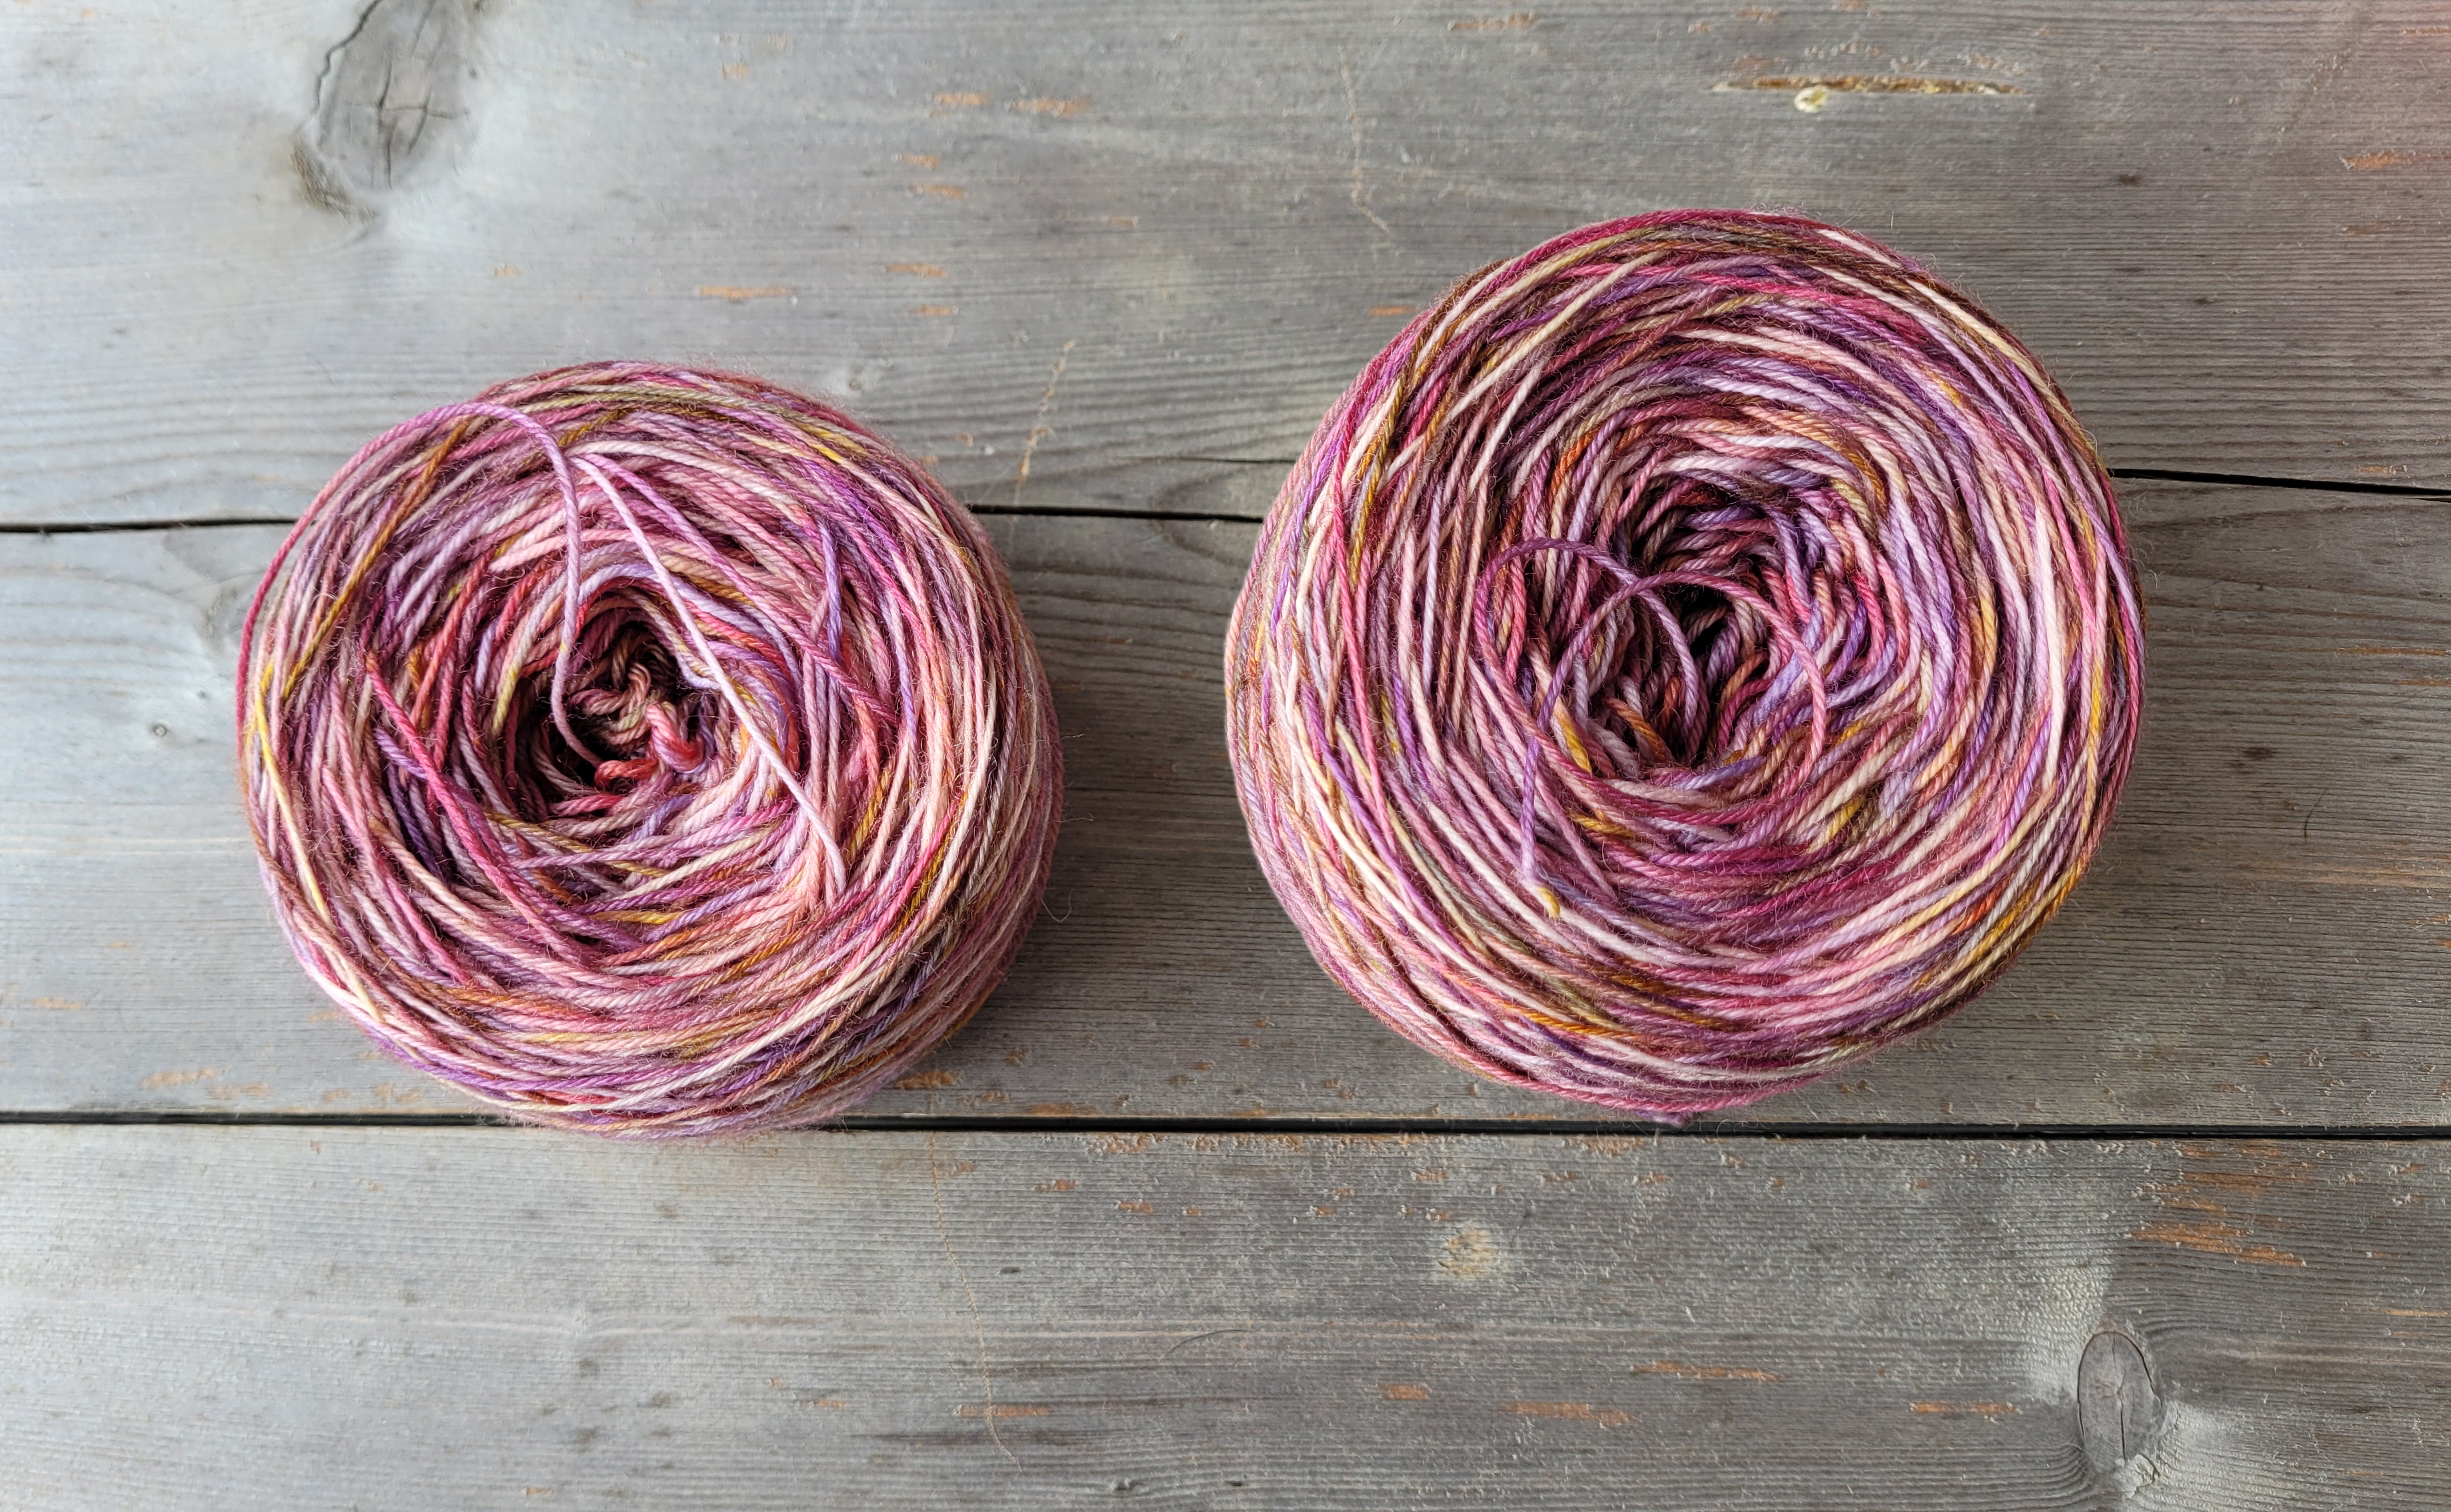
See the two cakes below?

They’re actually the exact same skein.
The one on the left has been wound directly from the skein on my swift.
The one of the right is the same ball, wound from the first cake into a second, much more relaxed cake.

Look at the size difference! And imagine the tension the first one would have been under had I only wound it once.

two cakes of yarn, illustrating the tension yarn can be under after one wind (left) and two winds (right) The elasticity of the cake on the right is more relaxed.
Same exact skein of yarn, first wind (left) second wind (right)

So, tell me. Are you kind to your yarn? Do you ever rewind?

And if you haven’t done it before now, have I convinced you to start? I sure hope so! And I bet your yarn will thank you, too!

Oh! And… psst! The yarn I’ve pictured here is a beautiful skein of Ballyhoura Fibre yarn. It’s Cierra’s 4-ply sock in colourway “Pot Pourri”. Watch out for it in a pattern this autumn!
You can find the link here: https://www.ballyhourafibres.com/


Like what you see? Check these out!

Posted on 7 Comments

The only Long Tail Cast On method you’ll ever need.

Knitters, don’t say I never give you guys anything!

This long Tail Cast On method is flawless.
You’ll never scrabble for yarn to make those last few stitches ever again.
Long Tail anxiety will be a thing of the past! And it’s so gosh darn easy.

Let me show you how.

Before we begin our long tail cast on.

Start off with your needle, and both ends of your yarn ball. Every ball has an inside end and an outside end. Fish them both out and have them ready to rock like this.

two strands of yellow yarn set horizontal on a table top. A sinle knitting needle is being held above them, ready for a long-tail cast on.
Inside and Outside yarn ends and my 6 mm knitting needle

Knot the ends together

Yea, no… seriously.
I know a lot of knitters are averse to knots, but don’t worry, you can undo it later.
For now, gather your courage and make that knot!

a hand points to a knot joining two strands of yarn. Both strands are feeding out of the same ball of yellow yarn.
Leave a good 6 inches between the knot and the ends. You’ll sew the ends in later.

Slip the needle between strands.

Your first cast on stitch is an easy one. Just pop your needle between the strands, and place the knot flush with your needle.
The front strand will act as your long tail, the back strand will make up your cast on stitches.

a knitting needle sits between two strands of yarn. The knot holding them together is pressed against the side of the needle.
keep the knot pressed against the needle.

And then set your hands up as you would for a regular old long tail cast on.
Remember, the thumb holds the long tail, the index finger holds the new stitch.

a pair of hands holding two strands of yellow yarn, ready to start making long-tail cast on stitches.
Pro tip. Check the knot is still lying against the needle. We don’t want it wandering off anywhere!

After that, it’s just a matter of casting on as normal.
The bonus here is that your long tail will be exactly as long as you needed it to be because you’re feeding yarn out of your ball as you need it.

a knitting needle holding 24 cast on stitches. A hand holds two strands of yarn in long-tail fashion.
Aren’t they gorgeous?

Do you have a tail or two more to weave in at the end?
Sure you do, but I think that’s a small price to pay for the peace of mind you get from possessing an infinite long tail!

Once you’ve cast on everything you need…

Simply snip the long tail strand…

a set of 24 stitches on a knitting needle sits on a table. A hand points to a cut in one piece of yarn that is feeding off the newly cast-on stitches.
Snip snip!

…and carry on knitting merrily.

several rows of garter stitch in yellow yarn being held above a table by a pair of hands. The ball lies on the table in the background slightly out of focus.
Happy Days!

Back To Top


Like what you see? Check these out!
They’re both knit/crochet combo patterns.